Home · Projects · 2012 · Garden 2012

Table of Contents
· Indoor
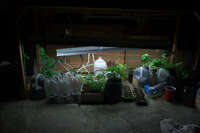
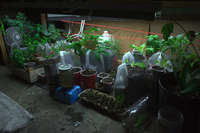
I started off the same way as last year, in the basement growing basically the same things as last year - fruits, vegetables, and herbs - plus cuttings of the sansevieria trifasciata and epipremnum aureum air cleaners. The small pots required less maintenance when I covered them with cut 2-liter soda bottles. While it is a little tedious to grow all of these from seed, requiring constant monitoring so as to maintain appropriate moisture levels when the seedlings are overly sensitive to drying out, it is nice to have a patch of green in the middle of winter. I often found myself sitting downstairs for a few minutes here and there admiring the foliage on otherwise cold and bleak days.

· Deck
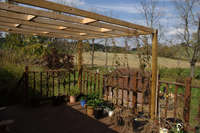
After the weather began cooperating I moved the seedlings to the deck and even swelled their ranks by planting even more than I could fit in the cramped indoor growing area. You can see several arctic kiwi and lots of sticks that are various fruit trees, blueberries, and even some cold weather tolerant bamboo. Most of this stuff died. I think the bamboo and a single mulberry are all that remains. I’ve since learned that there is more success to be found when planting perennials at the end of the season.


Towards the end of the year Dad built a trellis, that I plan to grow grapes on, over the deck. You can see the remains of the morning glories that I sadly don’t have any pictures of - the wall of flowers was marvelous.
· Compost
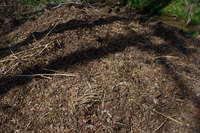
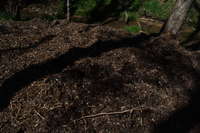
All of those pots require something better than the heavy clay soil from the yard, so I took it upon myself to start an experimental compost garbage can where I was dumping leftovers and straw plus a few serious compost piles to add directly to the soil. The garbage can compost works, and turning it is simple as you merely have to tip it on its side and roll it around, but it stinks and is slow to break down. I think it can’t hold enough moisture. Plus is seems to attract flies. The “real” compost piles work like a charm. They are finished in just over a month when turned every few days. They are made of about a 50/50 mix of fresh grass clippings and straw (and later leaves). I consumed all of our grass and the neighbor’s grass and ended up with several beautiful piles of compost. There was little to no bad smell, no flies, and the piles were big enough to hold moisture and produce enough heat to give off steam in the middle of summer. The only downside is the large amount of labor required to turn them every few days.

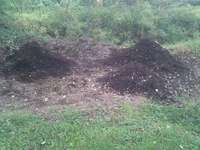


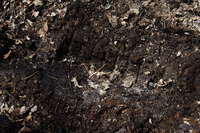
The macro picture shows the fresh compost mixed with some of the natural heavy clay that makes up the soil here. In the video you can see that the mix holds its shape when compressed, but breaks apart readily.


· Yard
I removed the rocks surrounding these old flower beds as well as the weed suppressing plastic that was present in them. The soil under the plastic was pitiful, not being oxygenated for years and almost completely devoid of life that would open it up a little. I hope that once I add some compost and gypsum to amend the soil and some plants to break up the clay and allow air and water to infiltrate deeper (to allow the annual roots to decay) that the creepy crawlies will come back and improve it even more.


· Back Beds
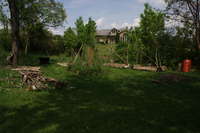
The aftermath of last years storm inspired me to do some experimenting in the back yard next to those beautiful condos… You can see the soil I am working with can be rolled into a long tube. This has enough clay content that it can then turned back on itself (not pictured) to make a hoop. This is evidence of lots of clay and not the best soil you could ask for, but it does mean that I can improve it by simply adding organic matter and a touch of gypsum.
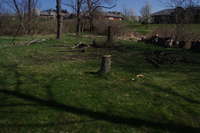

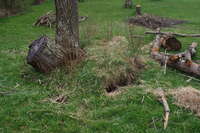
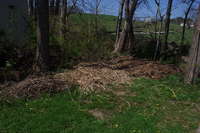
The plans for the area looked good on paper, but alas all my bear root fruit trees and blueberries died. Actually the blueberries were eaten, presumably by deer. The bamboo seems to be doing well though.

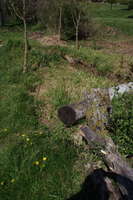


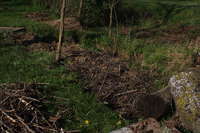

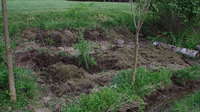
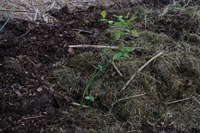
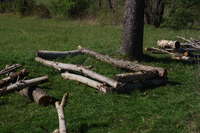
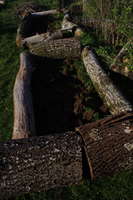
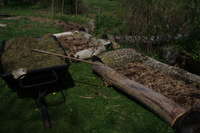
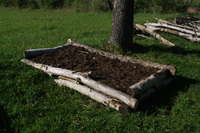
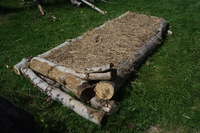
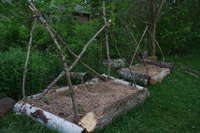
I filled in a basin like edge next to the creek with logs, sticks, and some soil that I removed from under the surrounding beds. The remaining logs were used to construct raised beds that were then filled with alternating layers of compost, fresh grass clippings, sticks, and straw. Finally I build some trellis like supports for the tomato plants. Though I don’t have pictures of them, the tomatoes grew like wildfire and totally covered the supports. I had more tomatoes than I could have ever eaten this year and gave loads away to the neighbors.

· Leaf Bed
Continuing my raised bed experiments in another corner of the back yard I build what I call the leaf bed (because of the shape) with more of the sticks from the storm. This is patterned after a leaf in the way it maximizes growing area to walkway ratio. Consider the ribs on a leaf are built to, like our arteries, supply nutrients to the most amount of area for the least amount of “piping”. The walkway is analogous to the artery and the planting area is analogous to the leaf. Every part of the planting area can be easily reached from the walkway.
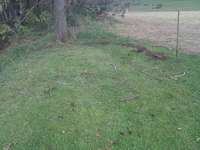
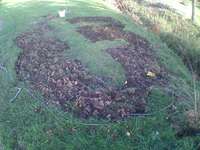
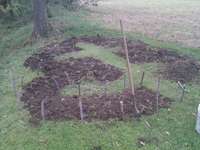
The sticks should break down within a few years and leave me with a simple mound of much improved soil.
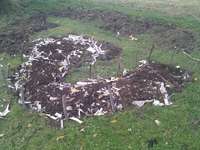
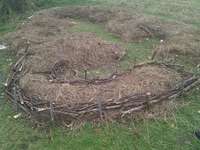
· Shed Bed
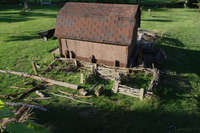
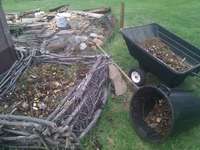
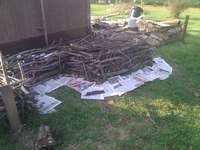
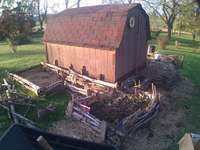
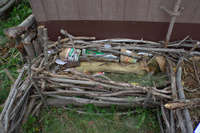
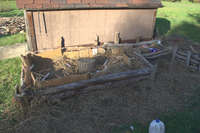
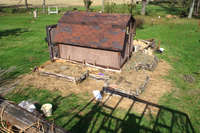
Last year I planted some corn around the shed and it came up nicely, but this year, after what I considered successes with my last two raised beds, I wanted to improve and expand what I could plant in the yard closer to the house (a little safer from deer browsing). Following the same basic pattern as the leaf bed I weaved the remaining sticks and logs into another raised bed that could be reached into easily from the two “access points” and the edges. The large “stump” log was placed there to break down and allow me a sort of stepping stone to access that part of the bed even easier. In the background of some of the pictures you can see the pile of small and large rocks I removed from around the house and flower beds.






· Side House
Here you can see three seasons of progression near the side of the house. First I planted a bunch of corn, sunflowers, and beans in amended soil. They provided a nice screen (full grown not shown) and laid the groundwork for planting arborvitae, with additional soil amending, in the fall for a more permanent screen. Lastly the arborvitae is shown snow covered in its first winter. They look healthy and are hardy so I expect them all to do well. My only concern is the “last one” might not get quite enough light. Time will tell.


· Dam/Bank Restoration
The dirtiest project I undertook this year was shoring up a collapsing creek bank and attempting to install a minor dam/pond. Everything worked out nicely until we got a heavy rain. This overwhelmed the dam and the whole thing was washed away. Actually it didn’t overwhelm it per se, the water was running down the back of the dam and cut weak points until the dam failed. Had I used more flat rocks on the backside of the dam, or build some kind of spillway (where?) the dam itself seemed to be strong enough to hold.


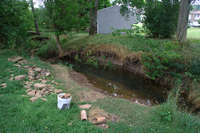

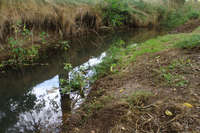
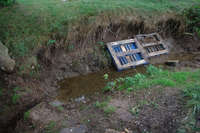
Though the dam failed, the pallets used to stabilize the creek bank worked like a charm. I had let the grass grow all summer next to the creek so that the roots would act as an anchor to the degrading water’s edge. Then, at the end of the year when the grass naturally died, it fell down and covered the banks acting like a sort of net. With the pallets in place, the roots could grow through them and help anchor them even better. This seemed to be the case and, if nothing else, the banks didn’t lose any ground in the downpour that overwhelmed the dam. Hopefully next year there will be more fresh growth on the pallets themselves so that more roots can better bind the pallets into the soil. Eventually the pallets will break down, but by then there will be several seasons of roots built up. I also plan to plant some kind of bushes (filbert?) along the bank. Additionally, the area of the bank that I flattened allows rushing storm water to disperse a little rather than concentrate. This will also lessen the stress on the eroded bank.


· Other
A few closing pictures that aren’t at all important to my documenting the evolution of he yard. Some ladybugs on dill I released indoors to combat spider mites and a wasp in the middle of winter on a maypop/passionflower indoors. The tree is a flowering pear that Dad planted some years ago and the gypsum is the only store bought amendment that I added to the soil. I add some around each tree I plant and in the bottom of each raised bed I built. It acts to deflocculate the clay.


